Warning: A non-numeric value encountered in /var/www/html/wp-content/themes/generatepress/inc/structure/post-meta.php on line 165
by Dwight Gibson
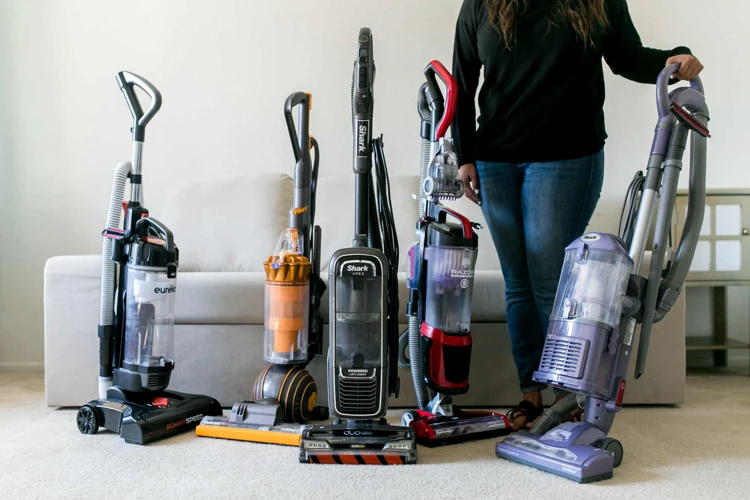
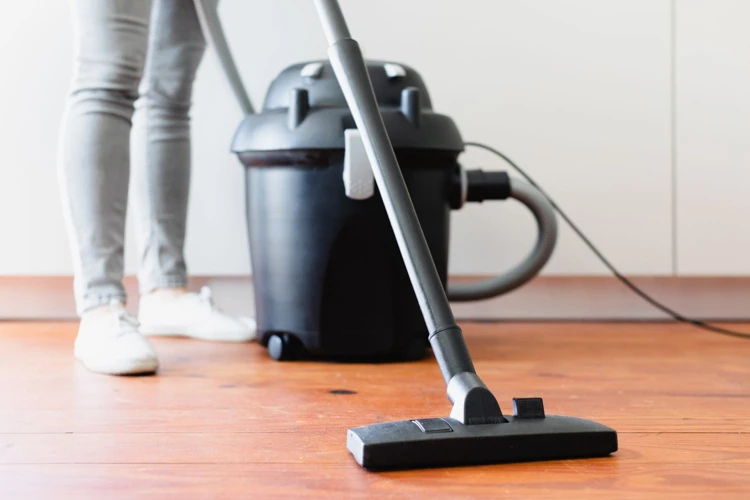
There’s no doubt about it – keeping your living space clean can be quite the challenge. But with the right tools and techniques, you can make the task a whole lot easier. And when it comes to keeping your floors free of dust, dirt, and debris, there’s perhaps no better tool than an upright vacuum cleaner. Not only are these machines powerful, but they’re also easy to use and versatile enough to clean a wide variety of surfaces. But with so many different settings and attachments, it can be tough to know where to start. In this article, we’ll show you step-by-step the most effective ways to use an upright vacuum cleaner, so you can keep your floors looking their best.
Table of Contents
Prepare the Space
As you get ready to tackle the task of vacuuming your home, taking a few minutes to prepare the space can significantly improve the effectiveness of your cleaning. By following a few basic steps, you can ensure that your upright vacuum cleaner runs smoothly and efficiently, picking up as much dirt and debris as possible. First, let’s clear the clutter and remove any loose dirt from the floor. This will create a clean surface for your vacuum to work on. If you’re interested in learning more about the advantages of an upright vacuum cleaner, check out our article on the top features of upright vacuums.
Clear the Clutter
Before you start using your upright vacuum cleaner, it’s important to clear the clutter from your space. This will not only make for more efficient cleaning but also help avoid any potential hazards that could damage your vacuum or cause accidents.
Here are some tips to help you clear the clutter:
Move any small objects or toys off the floor, such as books, magazines, and toys that could clog the vacuum’s brush roll or nozzle.
Make sure electrical cords or chargers are out of the way to avoid tripping hazards or damaging the vacuum.
Remove any large pieces of debris or larger objects that are too big for the vacuum to pick up, such as leaves or sticks.
Empty trash cans or other receptacles that may be in the area so the vacuum does not accidentally pick up any debris that could clog or damage the machine.
By clearing the clutter before you start vacuuming, you can ensure a smooth, efficient cleaning experience without any potential hazards or clogs. If you’re unsure which upright vacuum to choose for your space, check out our best upright vacuum for home recommendations, or read about the top features of upright vacuums to help you make an informed decision.
Remove Loose Dirt
Before using your upright vacuum cleaner, it’s important to remove loose dirt from the floor. This includes dust, crumbs, and hair that can make it difficult for your vacuum to clean effectively.
Avoid vacuuming over large debris such as coins, small toys, or paperclips. These items can damage your machine or clog the hose. Instead, use a dustpan and broom to sweep up larger items before vacuuming.
To remove loose dirt, follow these steps:
Start by dusting any surfaces in the room such as shelves, tables, or windowsills. This will prevent any loose debris from falling onto the floor as you clean.
Next, use a broom or dust mop to sweep the floor towards a dustpan. This will help pick up any larger debris that could damage the vacuum.
If there are any stubborn areas that are harder to sweep, try using a soft-bristled brush attachment that can attach to your vacuum hose. This brush attachment is great for removing pet hair and dirt from carpets, rugs, and upholstered furniture.
Once you have swept the room, your floors should be free of loose dirt and debris. You can now move on to the next step and start vacuuming!
Remember, removing loose dirt before vacuuming will make the process much more effective and help prolong the life of your upright vacuum cleaner. For more information on how to maintain your vacuum, check out our article on Upright Vacuum Maintenance Tips.
Choose the Right Setting
When it comes to using an upright vacuum cleaner, choosing the right setting is an important step to ensure effective cleaning. Using the wrong setting can lead to subpar cleaning results and potential damage to your floors. So, how do you know which setting is right for your floors? Here are some tips to help you choose the appropriate setting for your upright vacuum. And if you’re unsure which type of vacuum is right for you, check out our guide on upright vs canister vacuums. Additionally, to ensure your vacuum is working at its best, learn how to clean and replace the filters and troubleshoot any common issues that may arise.
Adjust Height for Different Floor Types
When it comes to using an upright vacuum cleaner, one of the most important factors to consider is adjusting the height for different floor types. This not only ensures that your vacuum cleaner is cleaning your floors effectively, but it also helps prevent damage to both your floors and the vacuum cleaner itself.
Before adjusting the height, it is essential to know what type of flooring you have:
Flooring Type
Height Setting
Low pile carpet or area rugs
Lower height setting
High pile carpet or shag rugs
Higher height setting
Hardwood, tile, or laminate
Higher height setting
Adjusting the height on your vacuum cleaner is a simple process. Most upright vacuum cleaners have a dial or lever that you can use to adjust the height. Make sure to adjust it accordingly to the type of flooring you are cleaning.
So, what happens if you don’t adjust the height?
If you don’t adjust the height of your vacuum cleaner, it can cause damage to your floors. For example, using a low height setting on high pile carpet can cause the vacuum cleaner to get stuck and even damage the carpet fibers. On the other hand, using a high height setting on low pile carpet will prevent the vacuum cleaner from picking up all the dirt and debris.
In addition to damaging your floors, not adjusting the height can also damage your vacuum cleaner. If your vacuum cleaner is set too low for the flooring type, it can cause the motor to overwork and burn out faster than usual.
Taking a few extra seconds to adjust the height on your upright vacuum cleaner can make a significant difference in both the cleanliness of your floors and the longevity of your vacuum cleaner.
Use Suction Control on Different Surfaces
One of the most effective ways to use an upright vacuum cleaner is by adjusting the suction control according to the surface you’re cleaning. Different surfaces require different suction strength to achieve optimal cleaning results. Here are a few tips to help you use suction control on different surfaces:
Low suction: This setting is suitable for delicate surfaces such as area rugs and upholstery. It helps prevent damage by minimizing the risk of sucking up fibers or creating friction that can cause pilling.
Medium suction: This setting is ideal for low-pile carpets or hard surfaces like hardwood, tile or linoleum. Since these surfaces don’t require as much suction as carpets, it can help prevent the vacuum from sticking to the floor, making it easier to move around.
High suction: This setting is best for high-pile carpets and heavily soiled surfaces. High suction can help loosen dirt, debris, and pet hair that embeds deep in the carpet fibers.
It’s crucial to adjust the suction control based on each surface you’re cleaning to make the most out of your vacuum cleaner. Keep in mind that using a high suction setting on delicate surfaces can damage them while using low suction on dirty surfaces won’t yield satisfactory results. Always make sure to use the appropriate suction setting to achieve optimal cleaning results.
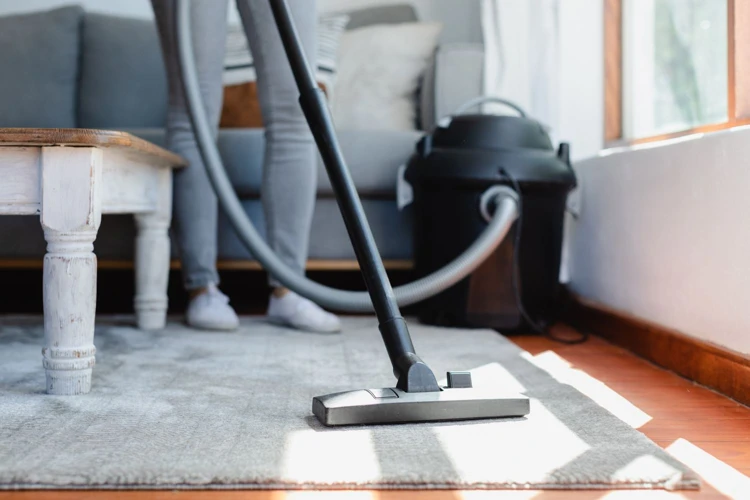
Vacuum Thoroughly
Now that you’ve prepared the space and chosen the right setting, it’s time to really get into the nitty-gritty of using your upright vacuum cleaner. It may seem like a simple enough task, but the key to getting your floors truly clean is in how you vacuum. To ensure that every speck of dust and dirt is picked up, use these tips for vacuuming thoroughly.
Overlap Your Strokes
When it comes to vacuuming, overlapping your strokes is an important technique to ensure that you pick up all of the dirt and debris on your floors. This technique involves running the vacuum over each section of a room multiple times, each time slightly overlapping the previous path.
To make the most of this technique, you can use the following tips:
Tip #1: Start from the farthest corner of the room
Work your way back towards the entrance of the room, making long, even strokes with the vacuum. This can help to prevent you from stepping on freshly cleaned spots and pushing dirt back onto the floor.
Tip #2: Try different angles
Vacuuming in a straight line is effective, but it’s not the only way to get the job done. Try using diagonal strokes or overlapping in a zigzag pattern for a more thorough clean.
Tip #3: Take your time
Don’t rush through your vacuuming job. Taking your time and making sure to properly overlap your strokes will help ensure that you’re getting all of the dirt and debris out of your flooring.
By following these tips and properly overlapping your strokes while vacuuming, you can be confident that you’re getting the most out of your upright vacuum cleaner and achieving a deep, thorough clean of your floors.
Use Attachments for Hard-to-Reach Spots
When it comes to vacuuming, it’s important to clean every nook and cranny, and hard-to-reach spots can make that task challenging. That’s why it’s essential to use attachments for those areas where your upright vacuum cleaner can’t reach.
Here are some useful attachments and how to use them:
Attachment
Description
Crevices tool
This attachment is perfect for hard-to-reach spots between cushions, behind furniture or under cabinets. Simply attach the tool and clean any areas that the vacuum cleaner can’t reach.
Dusting brush
If you have delicate surfaces, such as lamp shades or decorative items, the dusting brush attachment can help. This tool has soft bristles that gently clean the surfaces without causing any damage.
Upholstery tool
If you have furniture with fabric, the upholstery tool is the best choice for cleaning. This attachment has a brush roll and a suction port, which can effectively remove pet hair, lint and dust from upholstered surfaces.
But how do you use attachments effectively? Firstly, make sure the attachment is securely connected to the vacuum cleaner’s hose. Next, use the attachment to clean the targeted area, making sure to go over the area several times if necessary.
Here are some common hard-to-reach areas that attachments can help clean:
Behind and under furniture
Corners and edges of stairs
Air vents and baseboards
Between and under appliances
Window sills and blinds
By using attachments, you can significantly improve your cleaning performance and achieve a more thorough clean. It may take extra time, but the result is worth it. Don’t forget to store your attachments in a safe place for future use.
Don’t Forget About the Details
As you go about your vacuuming routine, it’s important not to forget about the details. Paying attention to the small things can make a big difference in the overall cleanliness of your home. From upholstery and drapes to baseboards and air vents, there are many areas that often go overlooked. But fear not – with the right approach and tools, you can easily tackle these spots and leave your home looking and feeling fresher than ever before. So, let’s dive into the nitty-gritty and explore some effective ways to give your home a truly thorough cleaning.
Vacuum Upholstery and Drapes
As part of a thorough cleaning process, it’s important to not overlook the upholstery and drapes in your space. These areas can quickly accumulate dust and debris, which can lead to allergic reactions and a decreased air quality. Here are some tips on effectively using your upright vacuum cleaner to clean your upholstery and drapes:
Check the Labels: Before you begin vacuuming your upholstery and drapes, be sure to check the labels for any specific cleaning instructions. Some fabrics may require special care or can only be cleaned with certain methods, so it’s important to follow any instructions closely to avoid damaging the material.
Use the Upholstery Tool: Most upright vacuums come with a specialized upholstery tool that is designed to clean fabric surfaces. This tool typically has soft bristles that are gentle on upholstery and drapes, while still effectively removing dirt and debris.
Adjust the Suction: Depending on the fabric, you may need to adjust the suction of your upright vacuum. Delicate fabrics, like silk, may require a lower suction setting to avoid damaging the material.
Start at the Top: When cleaning drapes, always start at the top and work your way down. This helps to avoid pushing dirt and debris back up into the fabric.
Overlap Your Strokes: As with flooring, it’s important to overlap your strokes when vacuuming upholstery and drapes. This helps to ensure that you are thoroughly removing all the dirt and debris from the fabric.
By regularly vacuuming your upholstery and drapes, you can help to improve the air quality in your space and reduce the risk of an allergic reaction. Be sure to take the proper care and follow any specific instructions to effectively and safely clean your fabric surfaces.
Clean Baseboards and Air Vents
Cleaning the baseboards and air vents of your home is an essential part of keeping a clean and healthy living space. Dust, pet hair, and other debris can accumulate in these areas, causing respiratory problems and allergies. Additionally, dirty baseboards and air vents can negatively impact the appearance of your home, making it look unkempt and neglected.
To properly clean your baseboards and air vents, follow these steps:
Step
Action
Step 1
Remove any loose debris from the area with a vacuum cleaner or broom.
Step 2
Mix a cleaning solution of warm water and mild detergent.
Step 3
Dip a microfiber cloth in the cleaning solution and wring out any excess water.
Step 4
Starting at one end of the baseboard or air vent, wipe down the surface with the damp cloth, being sure to remove any dirt or grime.
Step 5
Rinse the cloth frequently during the cleaning process to ensure that you are not spreading dirt or dust around.
Step 6
Once you have finished cleaning the baseboards and air vents, dry them thoroughly with a clean towel to prevent water damage or mold growth.
By following these steps, you can ensure that your baseboards and air vents remain clean and free of harmful debris. Additionally, cleaning these areas regularly can improve the overall appearance of your home and help keep it looking its best.
Maintain Your Vacuum Cleaner
After putting your upright vacuum cleaner to work, it’s important to take good care of it to ensure it continues to function at its best. Neglecting maintenance can lead to a decrease in suction power, unpleasant odors, and even potential breakdowns. So, what steps should you take to keep your vacuum cleaner in tip-top shape? Let’s explore some ways to maintain your vacuum cleaner and keep it working as efficiently as possible.
Regularly Change the Filter
We can’t stress the importance of regularly changing your vacuum cleaner’s filter enough. A dirty filter can severely impact the vacuum’s suction power and even lead to serious malfunctions in the motor. To avoid these issues, it’s essential to change the filter frequently.
Frequency of Filter Changes
The frequency at which you need to change your vacuum’s filter will vary depending on the usage and the quality of the filter. Cheaper filters or those made of lower-quality materials may need to be changed more frequently than their higher-quality counterparts.
If you have pets that shed frequently or if you suffer from allergies, we recommend changing your filter as often as every two months. For less frequent use or less dusty environments, changing it every three to six months should suffice.
Types of Filters
There are several types of vacuum filters available, including HEPA filters, foam filters, and fabric filters. HEPA filters are the most effective in trapping microscopic particles, making them the best choice for those with allergies or asthma. However, they can be more expensive and will need to be changed more frequently. Foam filters are more affordable and are washable, but they don’t trap smaller particles as effectively. Fabric filters are in the middle in terms of effectiveness and cost.
How to Change the Filter
Changing the filter on your vacuum cleaner is a simple process, and the instructions may vary depending on the brand and model. Typically, you’ll need to unscrew or unlatch the filter compartment, remove the old filter, and replace it with a new one. It’s essential to use the correct filter for your vacuum cleaner, so make sure to check the owner’s manual or contact the manufacturer if unsure.
Changing your vacuum cleaner’s filter regularly should be a top priority if you want to keep it functioning optimally. Make sure to check the recommended frequency of filter changes for your specific vacuum and invest in a high-quality filter that suits your needs. With these tips, your vacuum cleaner will be ready to tackle any mess you throw at it.
Clean the Brush Roll and Nozzle
Regular maintenance of your upright vacuum cleaner is essential to ensure it functions effectively and lasts for years to come. One aspect of this maintenance is cleaning the brush roll and nozzle. Over time, pet hair, dirt, and other debris can become tangled in these parts, causing them to lose suction power and even cease working altogether.
Here are the steps to clean your brush roll and nozzle:
First, turn off and unplug your vacuum cleaner to avoid any potential accidents.
Locate the brush roll and remove any large debris, such as hair or carpet strings, with a pair of scissors or your hands.
Use a specialized tool or a clean cloth to remove any smaller debris or dirt from the roller.
To clean the nozzle, use a lint roller or a soft-bristled brush to remove any dirt or debris that has accumulated.
Check for any signs of wear and tear on the brush roll or nozzle, such as cracks or breaks, and replace them if necessary.
Once you’re finished, reattach the brush roll and nozzle, making sure they’re secured properly.
By following these steps, you can ensure that your vacuum cleaner continues to operate at its highest level of performance. Cleaning your brush roll and nozzle regularly will prolong the lifespan of your vacuum cleaner and help you maintain a hygienic home.
Conclusion
When it comes to effectively using an upright vacuum cleaner, there are a few key factors to keep in mind. First and foremost, it’s important to prepare the space you’ll be vacuuming by clearing clutter and removing loose dirt. Once the space is ready, it’s essential to choose the right setting for your vacuum based on the floor type and surface you’ll be cleaning. And when you start vacuuming, it’s important to be thorough and pay attention to the details, including hard-to-reach spots, baseboards, and air vents.
Of course, like any appliance, regular maintenance is key to keeping your upright vacuum cleaner in good condition. Be sure to change the filter on a regular basis and clean the brush roll and nozzle to ensure optimal performance.
By following these steps, you can make the most of your upright vacuum cleaner and keep your floors and other surfaces looking clean and tidy. So take the time to prepare your space, choose the right setting, vacuum thoroughly, pay attention to the details, and maintain your vacuum, and you’ll enjoy cleaner, healthier surroundings for years to come.
Frequently Asked Questions
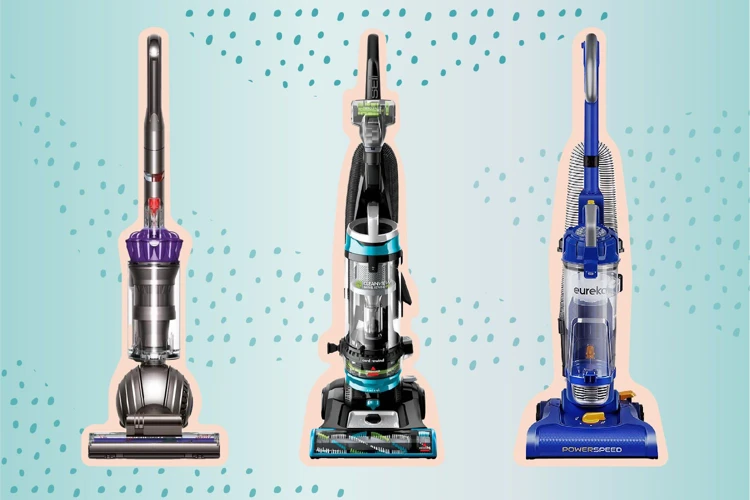
What is the best upright vacuum cleaner on the market?
There are many great options, but some of the most highly rated upright vacuum cleaners include the Dyson Ball Animal 2, Shark Navigator Lift-Away, and Hoover WindTunnel 3.
What should I do if my upright vacuum cleaner smells bad?
Try removing and washing the filter, cleaning the brush roll, and checking for clogs. You can also sprinkle baking soda on the carpet before vacuuming to help absorb odors.
How often should I change the filter on my upright vacuum cleaner?
This can vary depending on usage and the type of filter, but generally it’s recommended to change or clean the filter every 3-6 months.
Can an upright vacuum cleaner be used on hardwood floors?
Yes, but be sure to use the appropriate setting and optional attachments to avoid scratching or damaging the surface.
How can I tell if the brush roll on my upright vacuum cleaner needs to be cleaned?
If you notice that the vacuum isn’t picking up dirt or debris as well as it used to, or if the brush roll is visibly dirty or tangled, it’s probably time to clean it.
What should I do if my upright vacuum cleaner stops working?
Check for clogs, make sure all connections are secure, and try resetting any circuit breakers or fuses. If these steps don’t work, you may need to take the vacuum to a repair shop.
Can an upright vacuum cleaner be used for pet hair?
Yes, many upright vacuum cleaners come with special attachments or features designed specifically for picking up pet hair.
Should I vacuum my carpet or floors first?
It’s generally recommended to vacuum your floors first, and then move onto carpets. This will help prevent dirt and debris from getting embedded in the carpet.
What should I do if my upright vacuum cleaner leaves marks on my carpet?
Make sure you’re using the appropriate setting and attachments for the type of carpet you have. If you continue to experience issues, consider switching to a vacuum with a softer brush roll or using a carpet cleaning solution.
How can I make my upright vacuum cleaner last longer?
Regular maintenance, such as changing the filter and cleaning the brush roll, can help extend the life of your vacuum cleaner. It’s also important to use the vacuum correctly and avoid overworking the motor.